My Items
This guide covers managing your personal items in the dashboard, including filings, companies, IPRA requests, and docket subscriptions.
My Filings
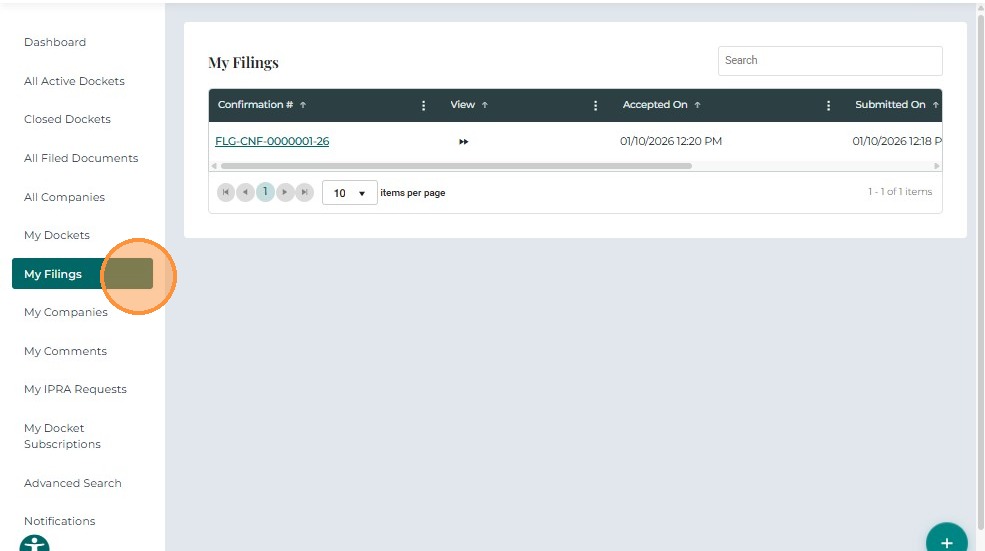
The My Filings tab displays all filing requests submitted by the logged-in user.
This includes filings for new dockets, existing dockets, formal complaints, and other submissions initiated through the Submit New menu.
- From the left navigation menu, click My Filings.
- The system displays a table listing all filings submitted by you.
| Field | Description |
|---|---|
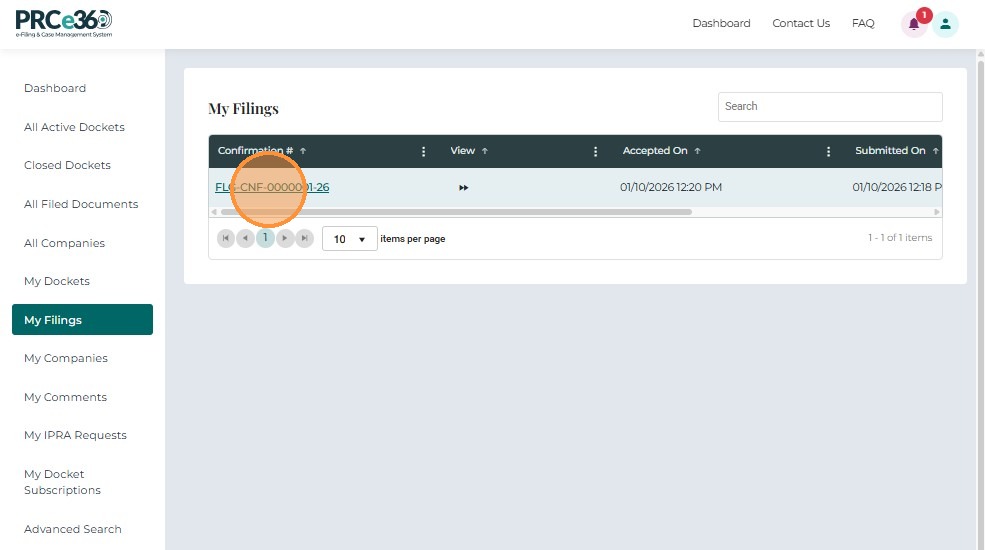
| Confirmation # | Unique identifier assigned to the filing request. Clicking the number opens the filing details. |
| Accepted On | Date and time when Records Staff approved the filing request. |
| Submitted On | Date and time when the filing was submitted by the user. |
| Submission Status | Indicates whether the filing is Accepted, Rejected, or Pending Review. |
-
Click the Confirmation # (for example, FLG-CNF-0000025-25) to open the Public Filing Request detail page.
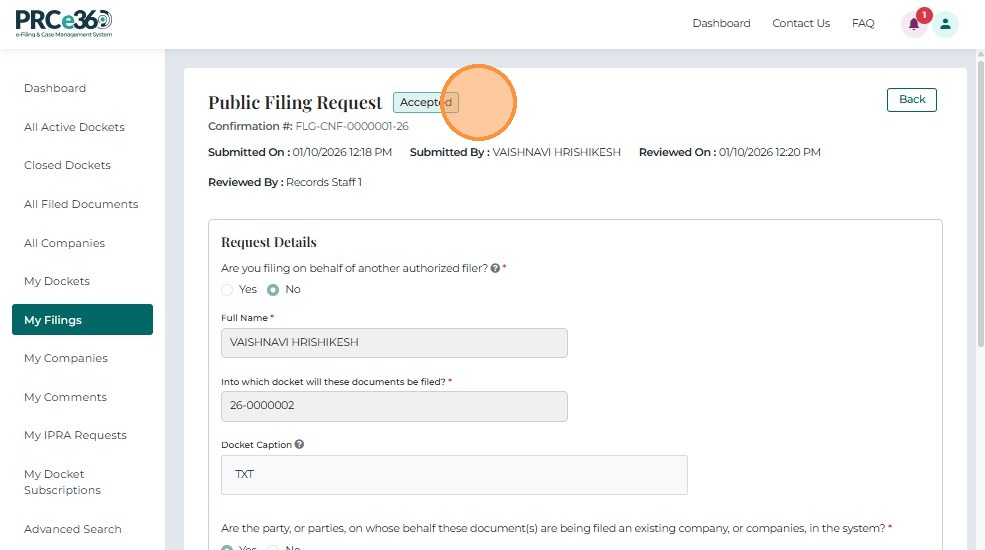
This page includes the following sections:
-
Filing Status
-
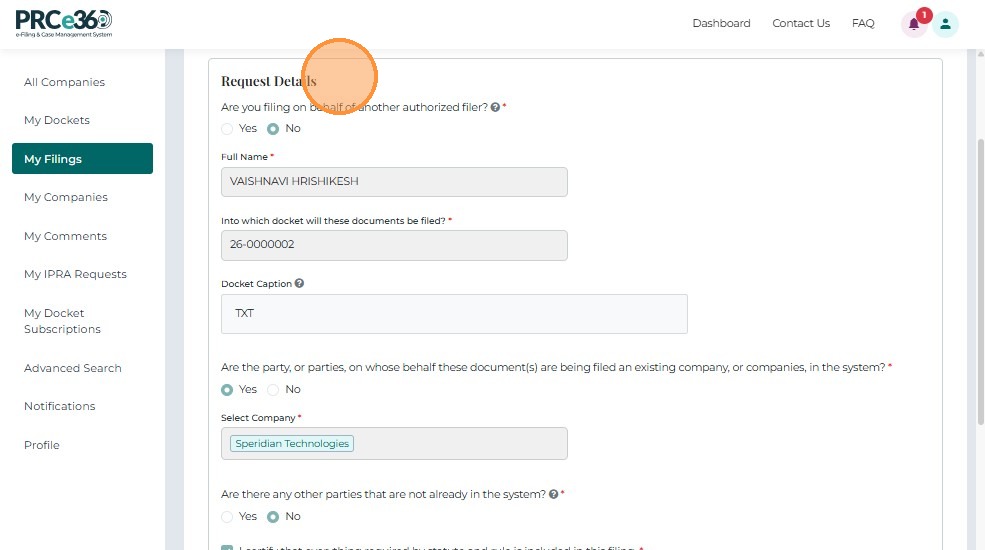
Request Details
-
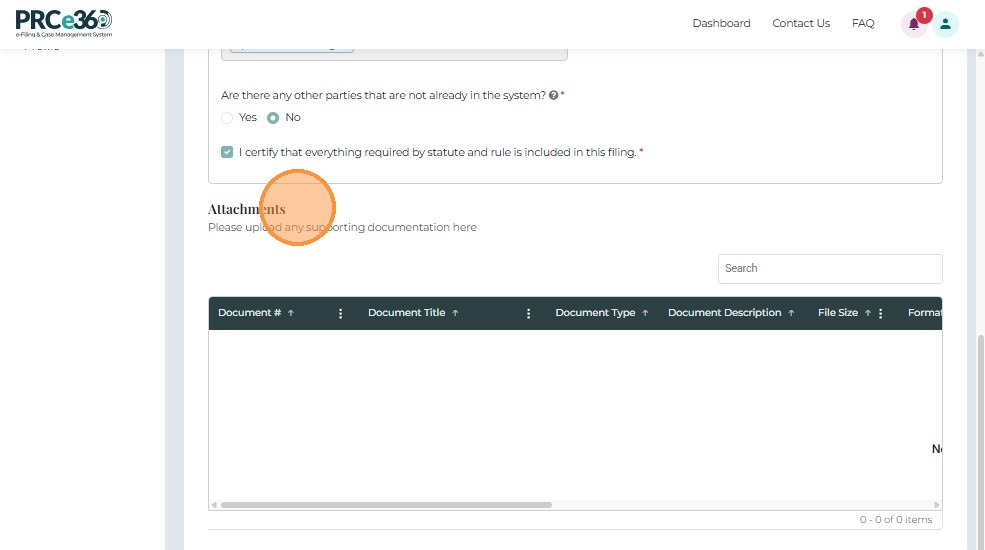
Attachments
My Companies
A Cancel button is available to return to the previous list.
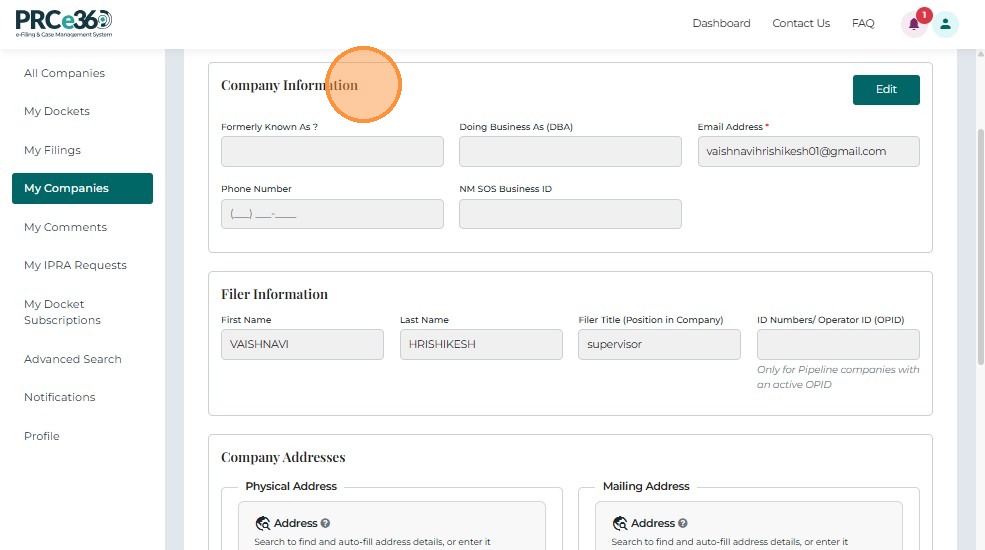
Company Details
The Company Details tab contains multiple sections:
-
Company Information
-
Filer Information: Displays the details of the user who registered the company
-
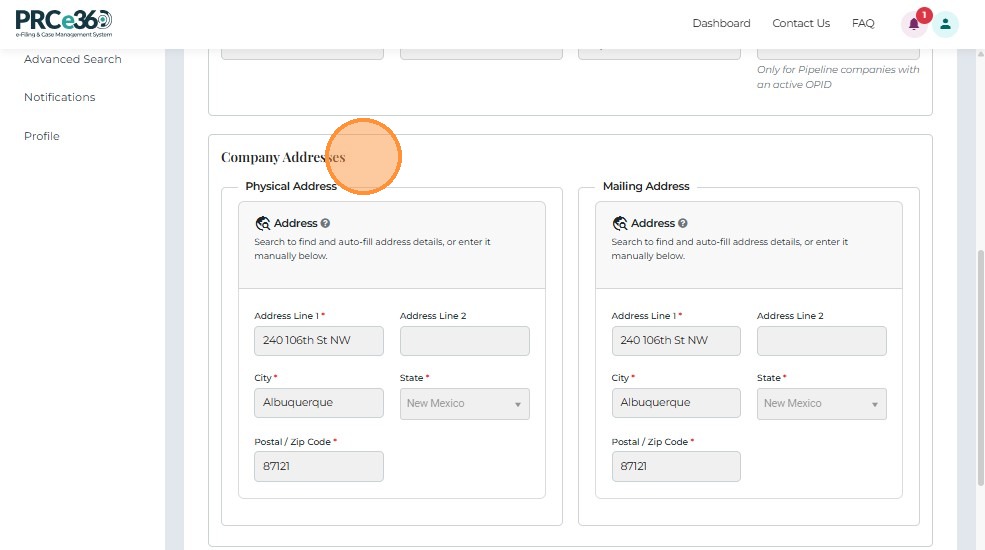
Company Addresses
-
Primary Company Contact
-
Additional Company Contacts
-
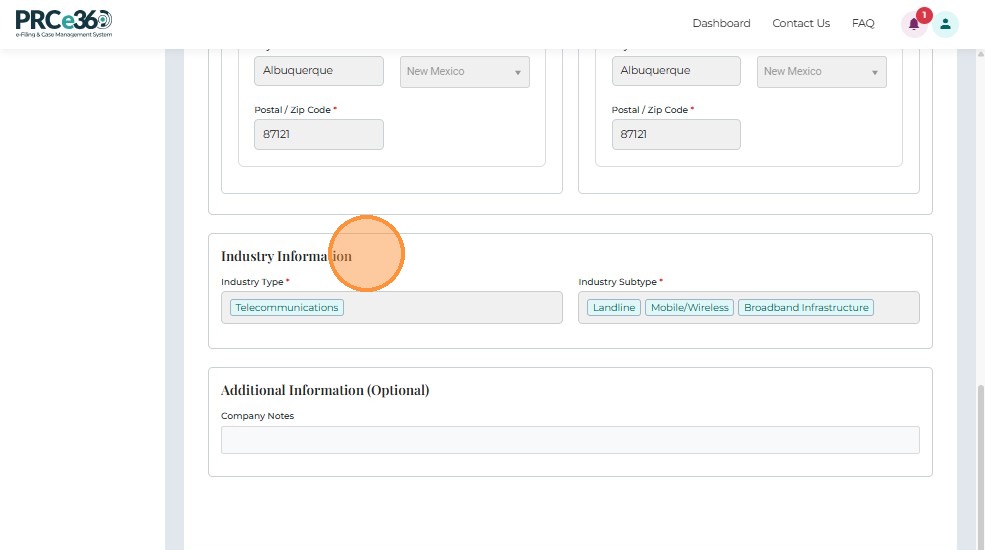
Industry Information
-
Additional Information
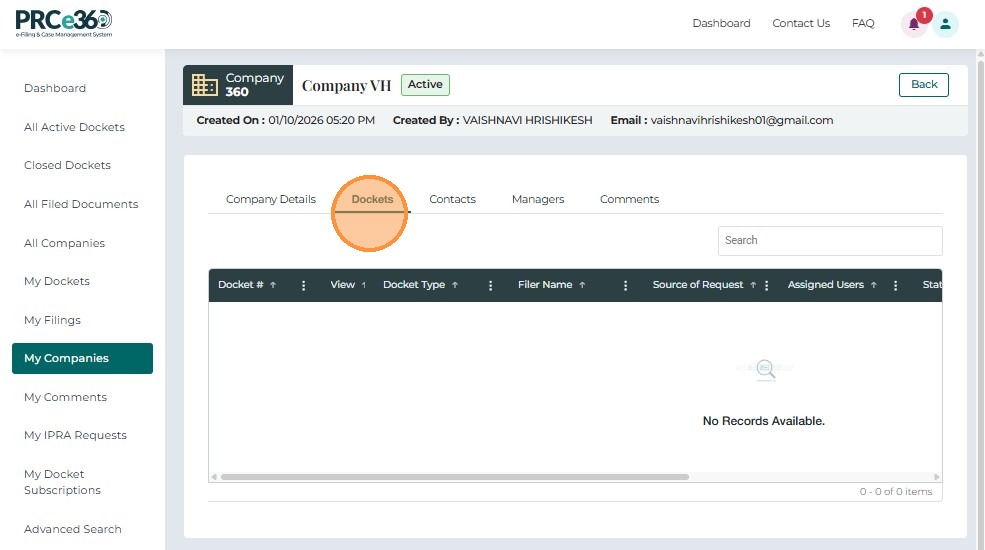
Dockets Tab
The Dockets tab displays all Dockets — including formal complaints, docket filings, rulemaking, and other Docket types — associated with the selected company.
Key notes:
- Users cannot create a new Docket from this screen; they can only view existing company-linked Dockets.
- When the user clicks Dockets, the system displays a table of all related dockets.
| Column | Description |
|---|---|
| Docket # | Clickable docket number that redirects to the Case 360 page. |
| Docket Type | Type of Docket (e.g., Formal Complaint, Pipeline, Transportation, etc.). |
| Filer Name | Name of the individual who filed the Docket. |
| Source of Request | Indicates whether the Docket was filed Online, by PRC Staff, or Migrated from legacy records. |
| Assigned Users | PRC staff members assigned to handle the Docket. |
| Status | Current status of the Docket (e.g., Active, Closed, Pending). |
Search Functionality:
Users can search for Dockets using any keyword.
View Docket:
If one or more Dockets exist, clicking the Docket # opens the respective record in Case 360.
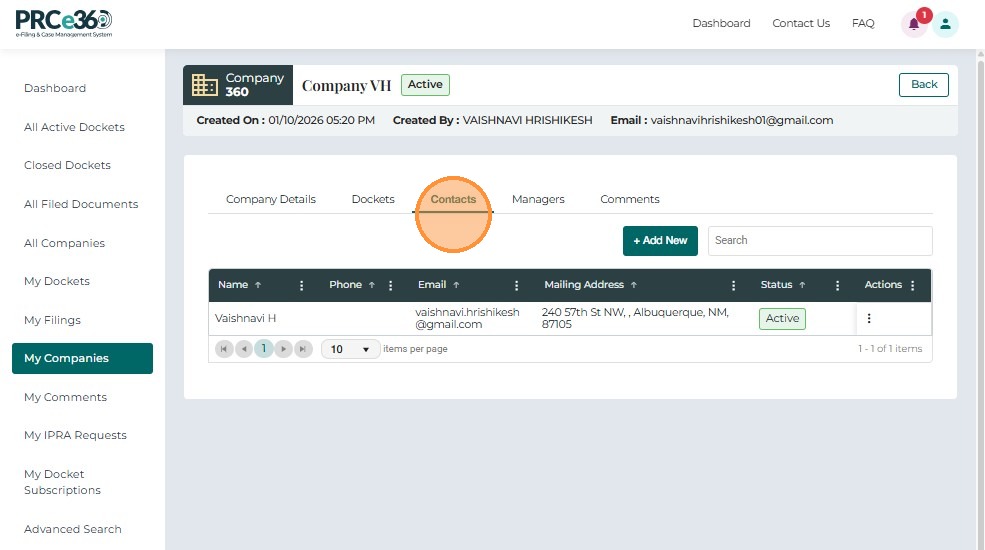
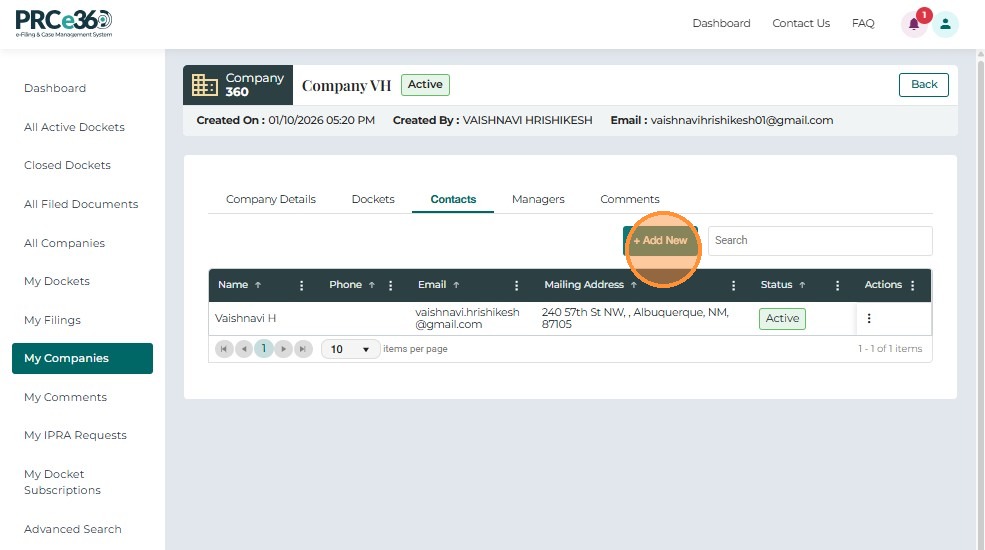
Contacts Tab
The Contacts tab displays all individuals linked to the selected company, along with their contact information and status.
| Field | Description |
|---|---|
| Name | Full name of the company contact. |
| Phone | Contact’s phone number. |
| Contact’s email address. | |
| Mailing Address | Correspondence address for the contact. |
| Status | Indicates if the contact is Active or Inactive. |
| Actions | Options to View, Edit, or Delete a contact. |
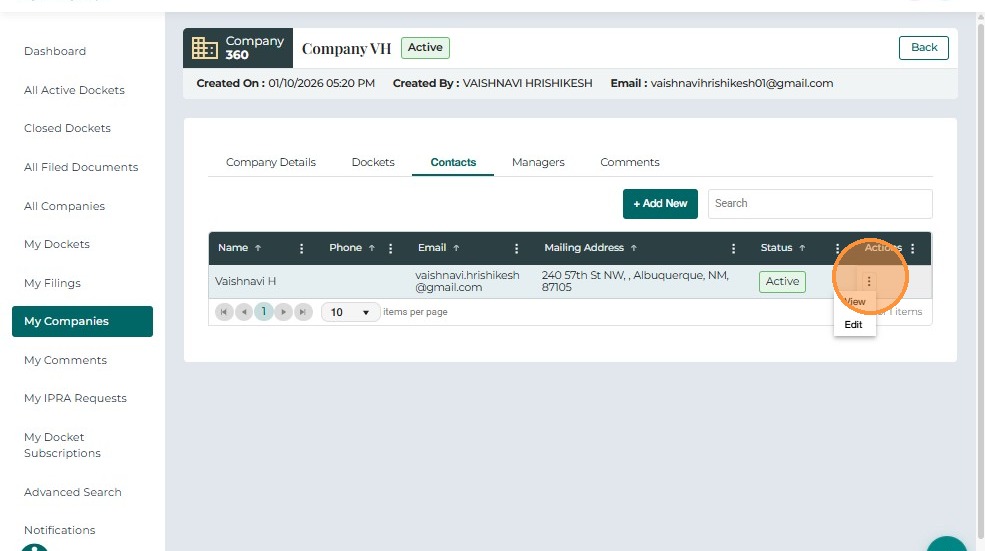
View Contact Details
- Select the Contacts tab.
- Click the three-dot menu under Actions.
- Select View.
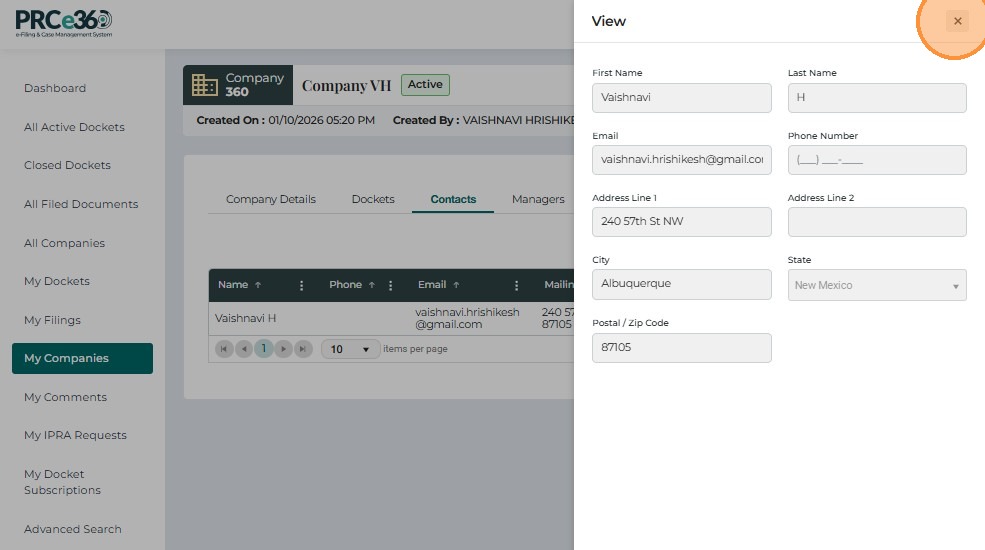
A read-only popup appears, displaying:
- Name
- Phone Number
- Physical / Mailing Address
Click Submit to close the view.
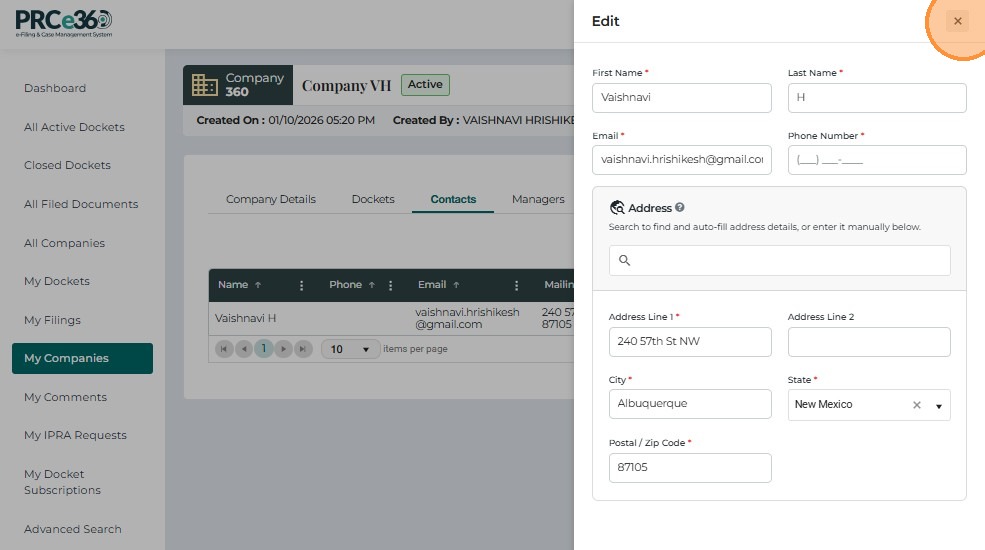
Edit a Contact
- Select Edit from the Actions menu.
- Update the required fields:
- First Name
- Last Name
- Phone Number
- Address Line 1
- City / State
- Postal / ZIP Code
- Click Submit to save changes.
The system immediately updates the contact and refreshes the table.
Add a New Contact
- In the Contacts tab, click + Add New.
-
Fill in the required fields:
- First Name
- Last Name
- Phone Number
- Address Line 1
- City
- State
- Postal / ZIP Code
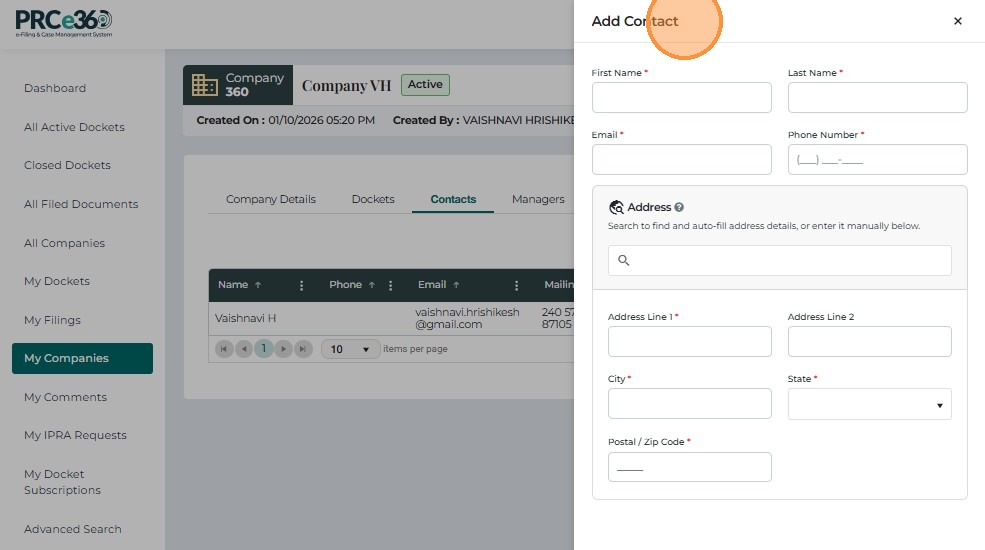
Click Submit once all details are entered.
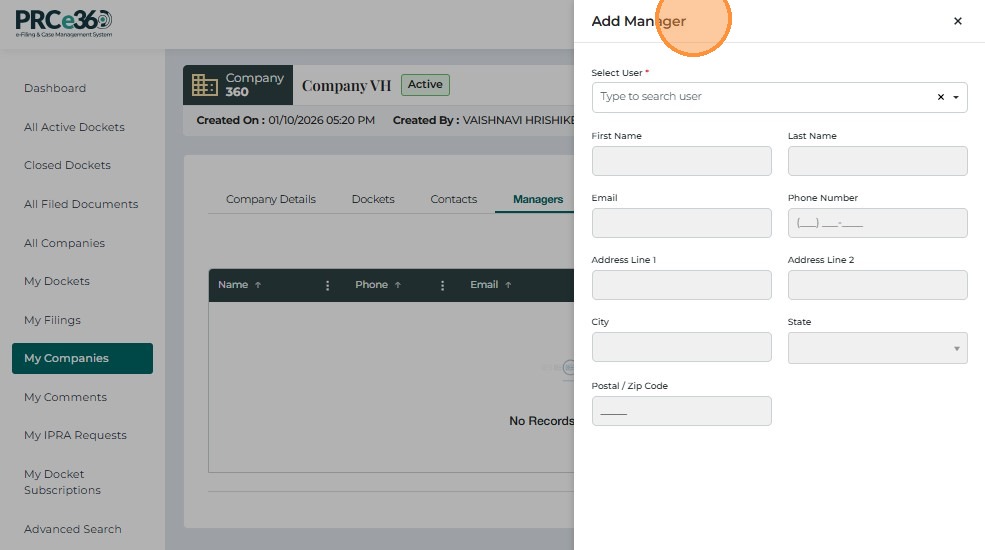
Managers tab
Here the users that have company management access will be listed here
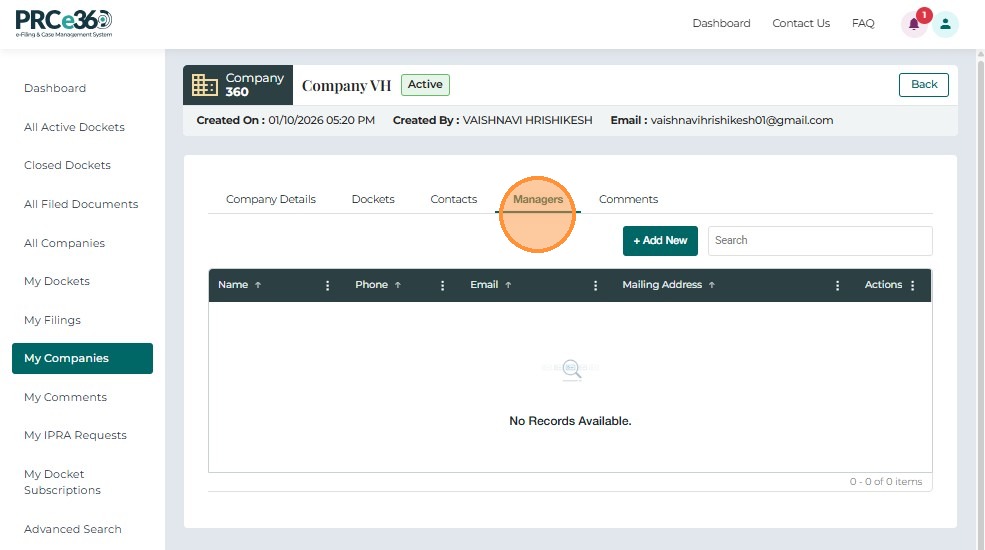
Click Add New to add new manager to the company

A side panel will pop up and select the user to be added as manager
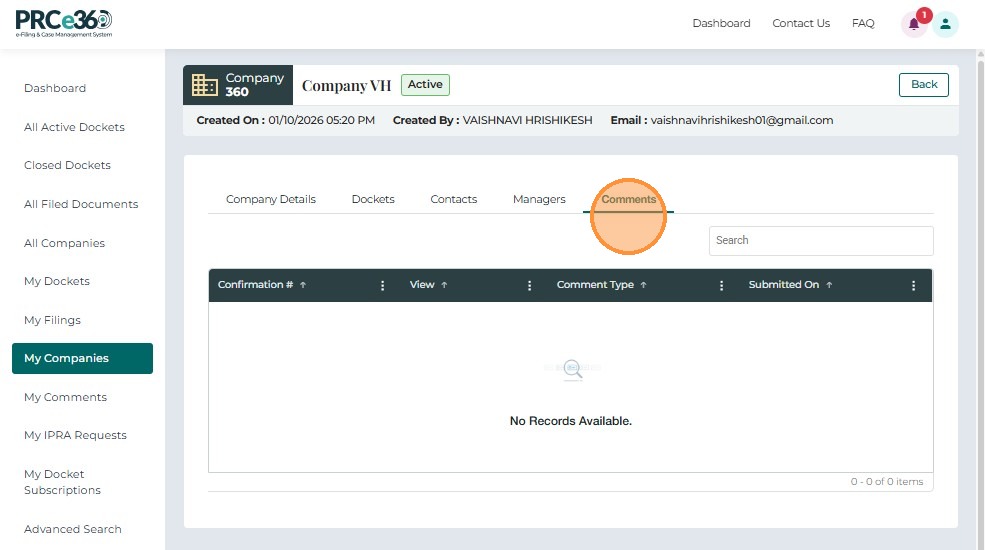
Comments Tab
The Comments tab displays public comments submitted for the selected company.
This applies when the company is involved in docketed matters where public input or rulemaking comments are accepted.
| Column | Description |
|---|---|
| Confirmation # | Unique confirmation ID for the submitted comment. Clickable to open details. |
| Comment Type | Type of comment (e.g., Public Comment, Rulemaking Comment). |
| Submitted On | Date and time when the comment was submitted. |
For detailed information about managing company contacts, dockets, and comments, refer to the Documents and Companies guide.
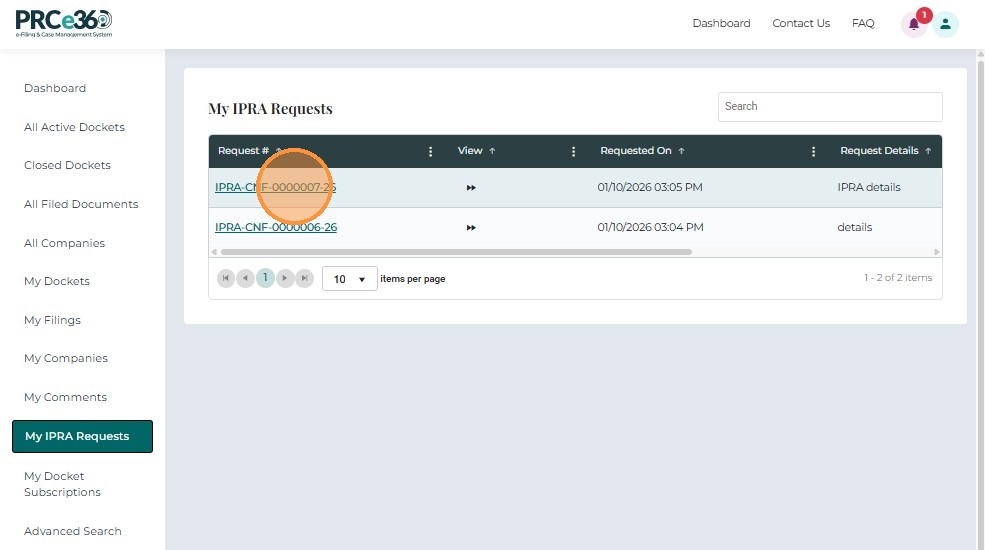
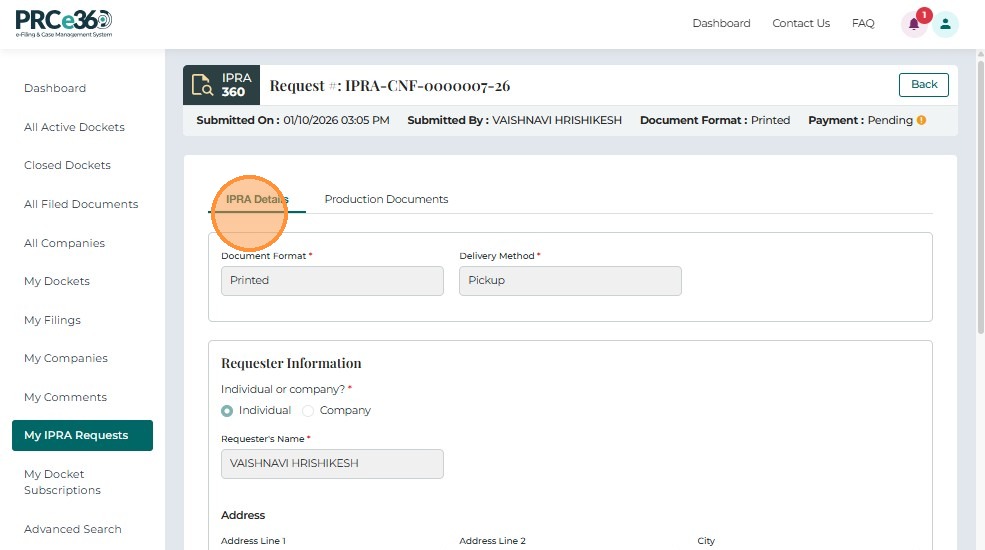
My IPRA Requests

Clicking on the IPRA Request ID redirects the user to a 360° view of the request, which includes the IPRA Details and Production Documents tabs.
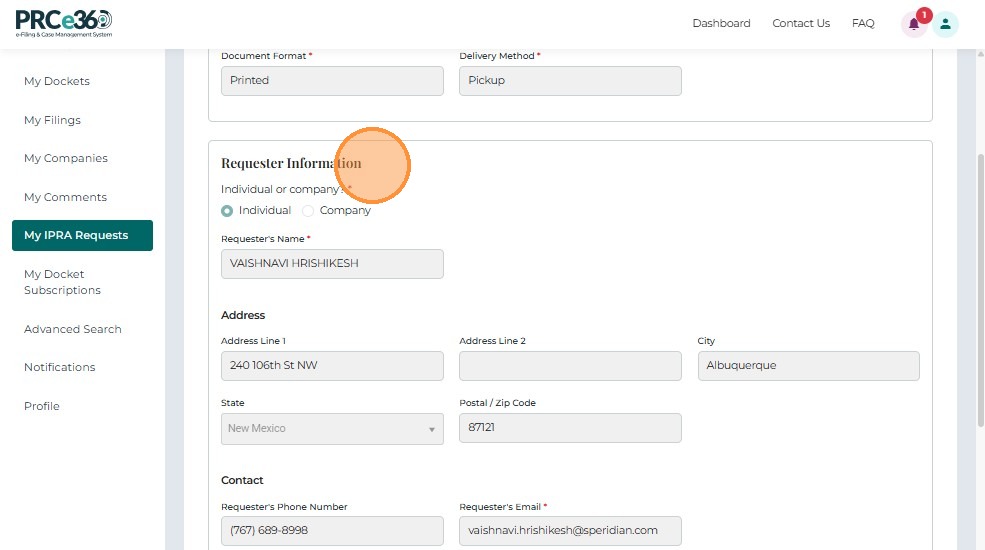
The IPRA Details tab displays all request-specific information.
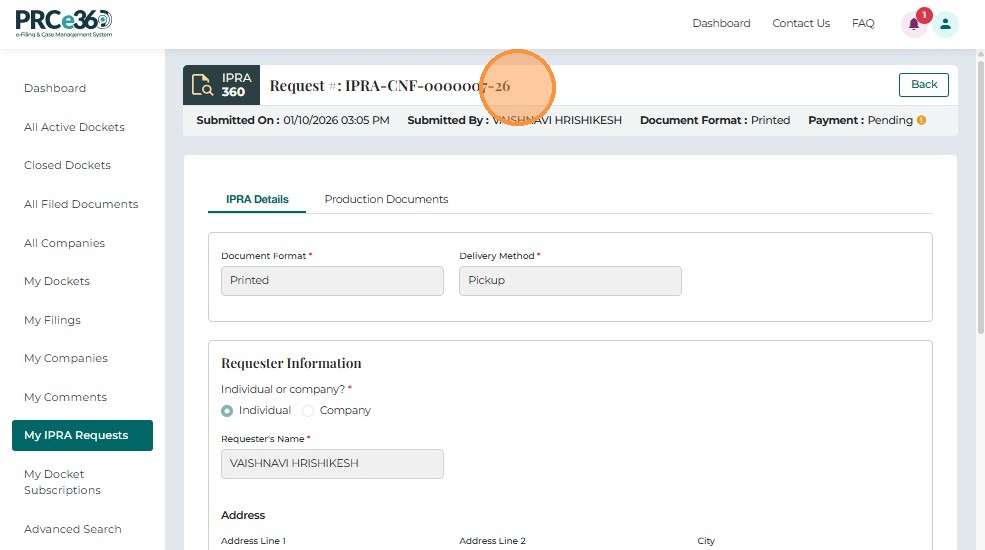
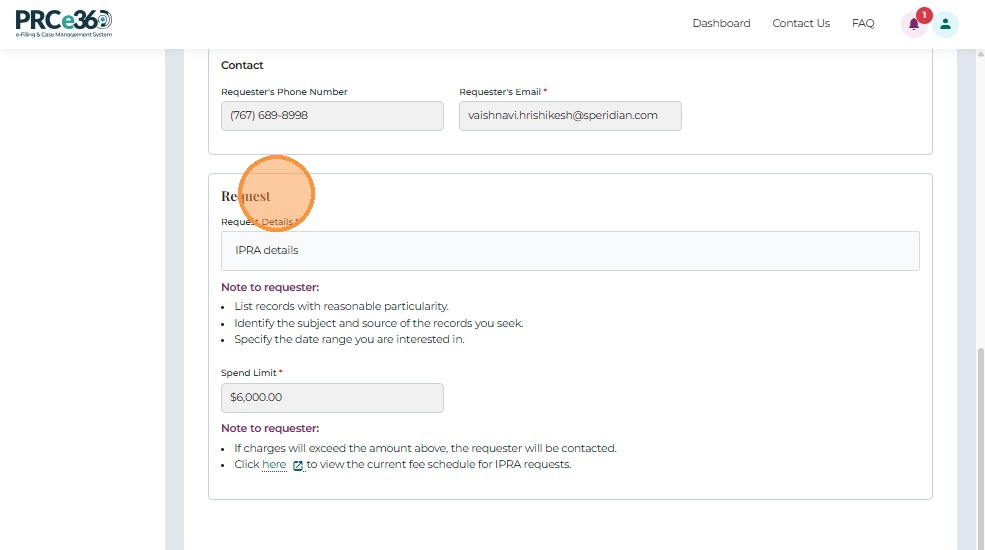
The request view also includes a Request Details section and a Note to Requestor panel for PRC staff communication.
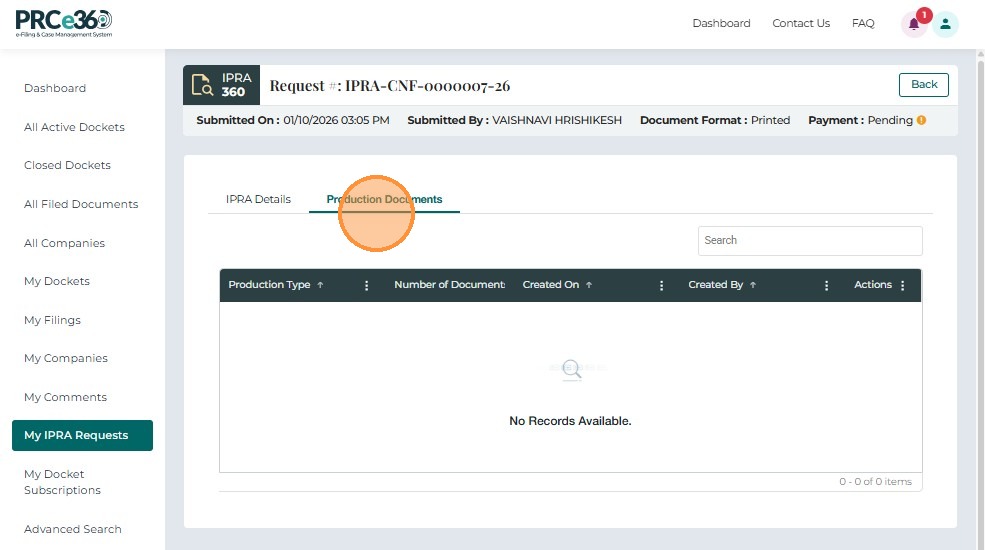
The Production Documents tab will show the documents submitted.
For detailed IPRA Process, refer to the Submit IPRA Request guide.
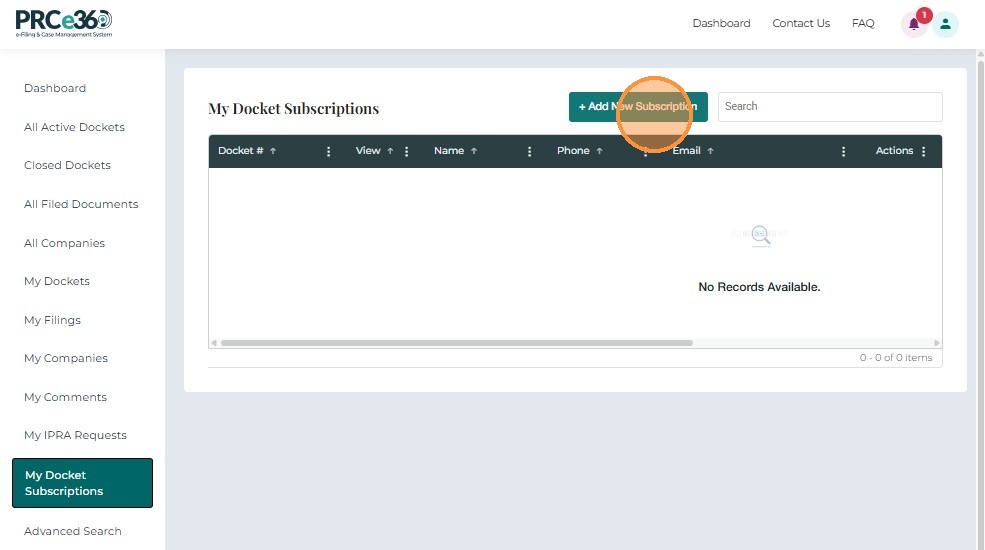
My Docket Subscriptions
The My Docket Subscriptions screen allows Tier 1 and Tier 2 users to view and manage all Dockets they have subscribed to for automated notifications.
Users can add new subscriptions, update existing ones, or remove subscribers they previously added.
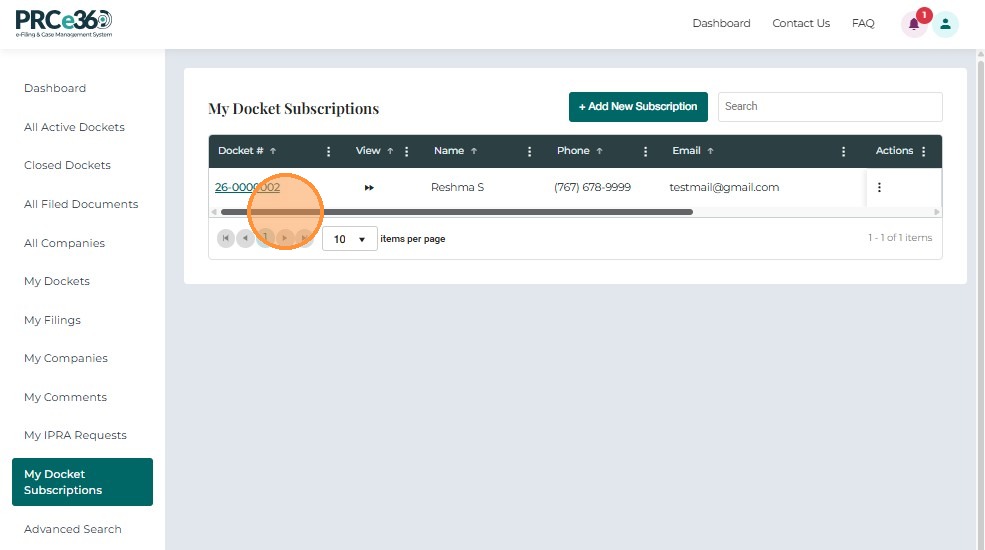
- From the left dashboard menu, click My Docket Subscriptions.
- The system displays a list of all Dockets and subscribed recipients.
| Column | Description |
|---|---|
| Docket # | The Docket/docket number subscribed to. Clicking opens Docket details. |
| Name | Name of the subscribed individual (yourself or another contact). |
| Phone | Contact number of the subscribed individual. |
| Email address where notification alerts are sent. | |
| Actions | Options to Edit or Remove a subscription using the three-dot menu. |

Add a New Subscription
- Click + Add New Subscription.
- Enter or search for an existing Docket Number.
The system validates the docket number entered.
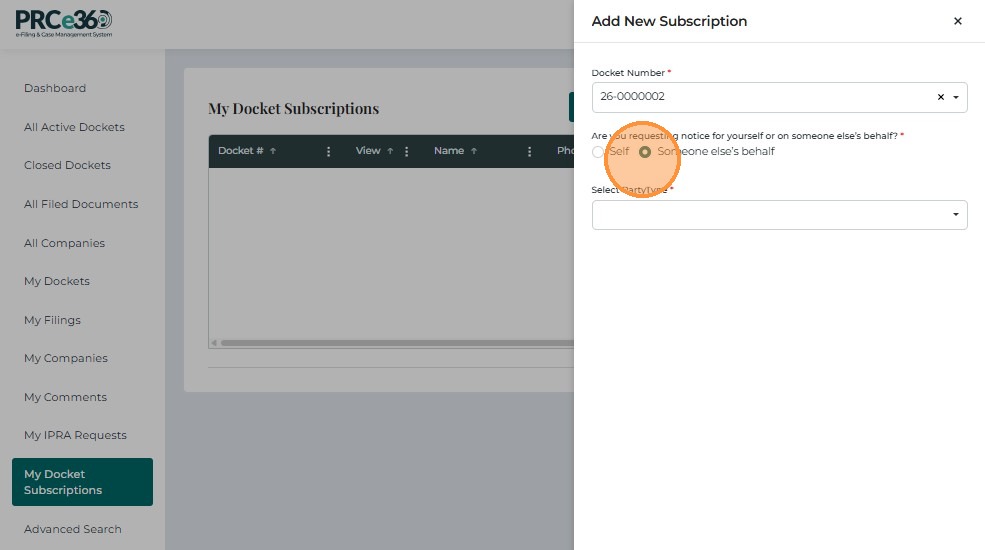
- Select Who is Receiving Notices:
- Self
- Someone else’s behalf
If Self is selected, your user details auto-populate.
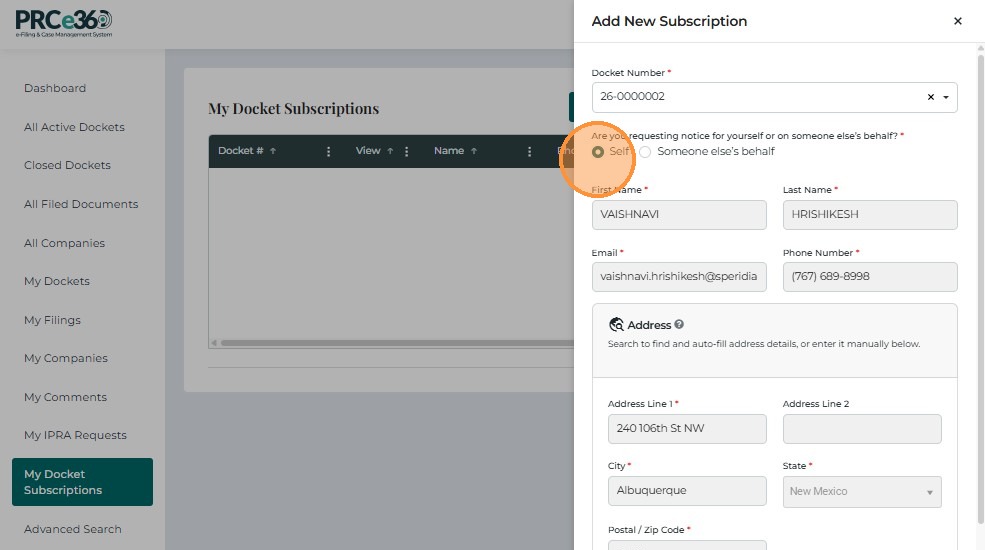
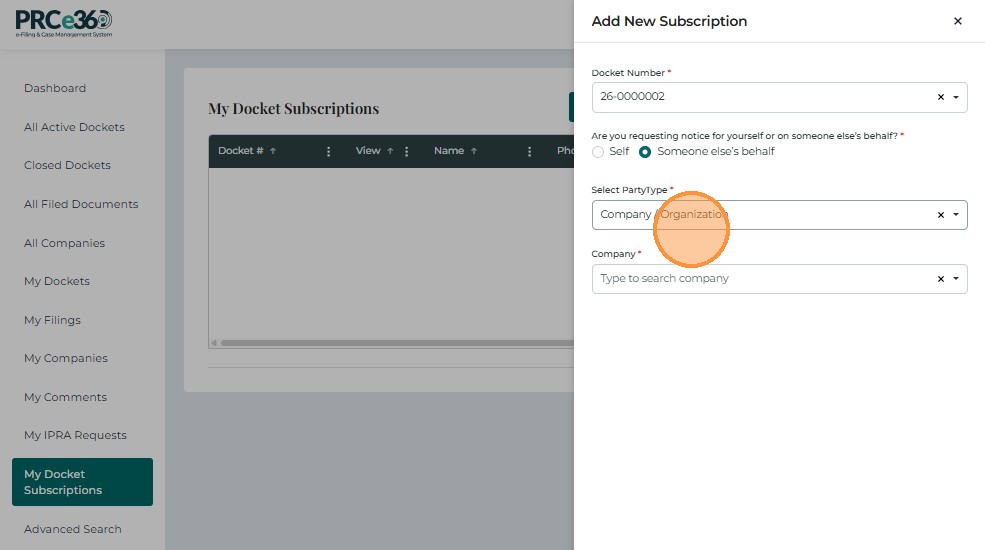
If Someone else's behalf, enter details below
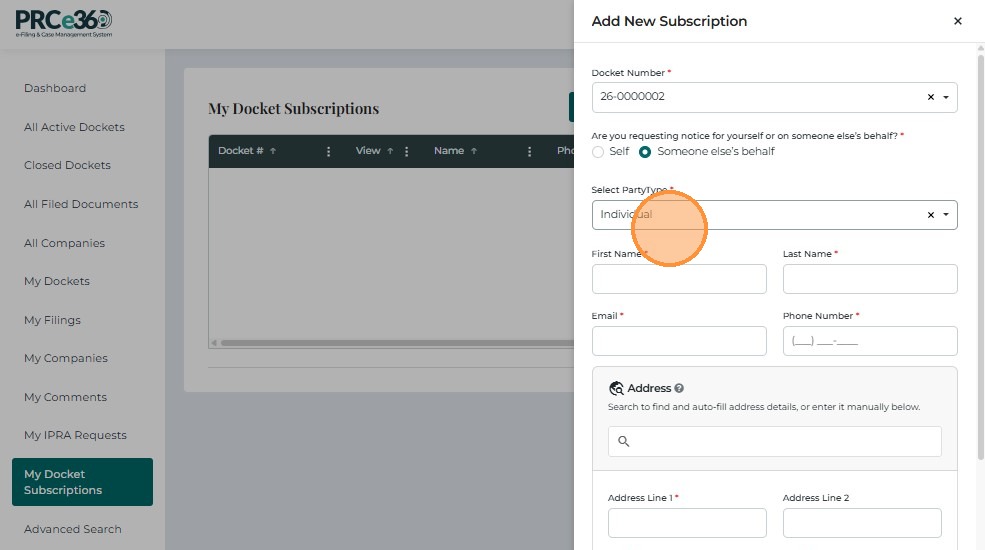
Click Submit to add new subscription
Edit a Subscription
- From the Actions column, click the three-dot menu and select Edit.

- A side panel appears showing the subscriber information form.
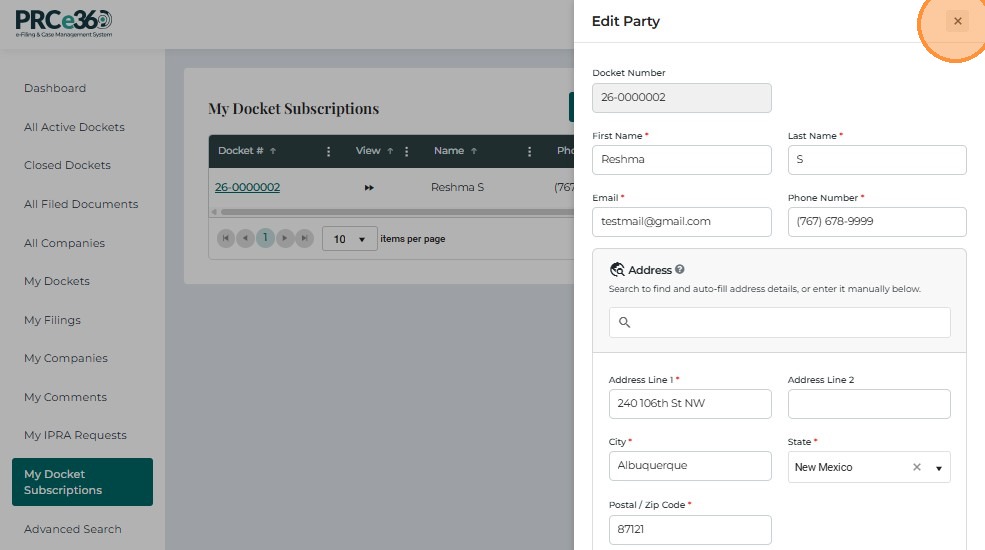
-
Update required fields such as:
- First Name
- Last Name
- Phone Number
- Address
- City / State / ZIP
-
Click Submit to save.
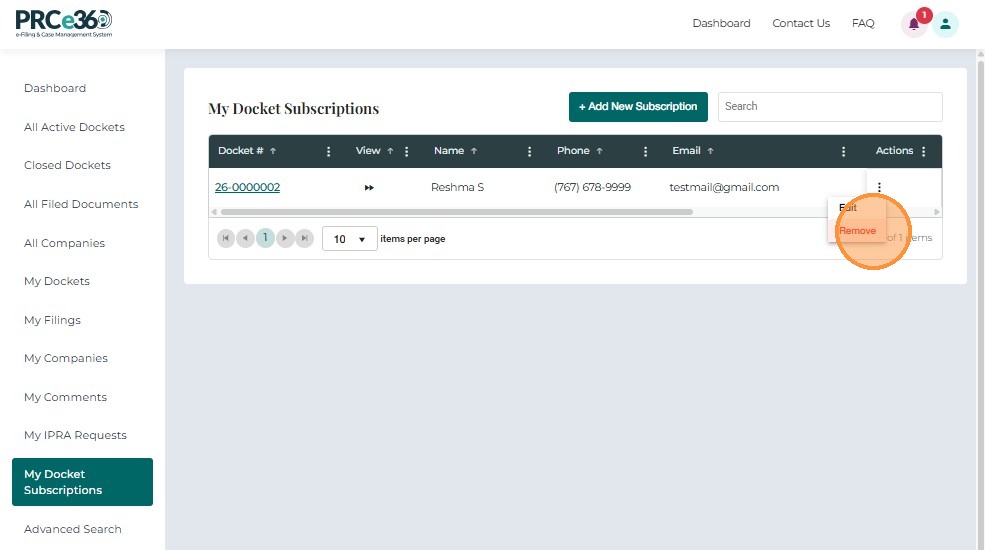
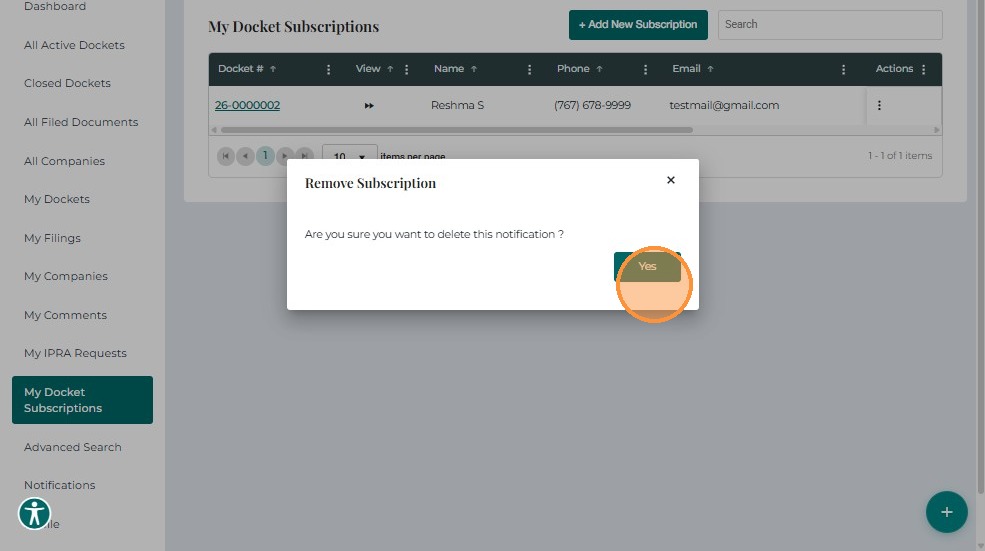
Remove a Subscription
- In the Actions column, select Remove.
- Confirm the deletion in the popup prompt: “Are you sure you want to delete this notification?”
- Click Yes to confirm.
The system displays: “Subscription is Removed.”
If no subscriptions remain, the page displays “No Records Available.”
Related Guides
- Dashboard Overview - Learn about the dashboard
- My Dockets - Manage your personal dockets